Key Takeaways
- Starting cost: $100-$160 for a quality starter kit; first batch ingredients $30-$50. Total initial investment under $200.
- Best starter kit: MoreBeer Deluxe Home Brewing Kit ($159.99) - Wirecutter's top pick, complete 5-gallon setup with everything except bottles.
- Start with extract brewing: It's simpler, faster (4-6 hours), and more forgiving than all-grain. Move to all-grain after 3-5 batches.
- Sanitation is everything: 90% of beginner failures trace back to poor sanitation. Invest in Star San and PBW from day one.
- Timeline: Brew day (4-6 hours) + fermentation (1-2 weeks) + conditioning (1-4 weeks) = 3-6 weeks total to your first beer.
- Cost per bottle: Approximately $0.75-$1.50 per 12oz bottle after initial investment - significantly cheaper than craft beer equivalents.
Introduction: Your Home Brewing Journey Starts Here
I still remember my first batch vividly - a simple American Pale Ale brewed on a cramped apartment kitchen counter in 2013. The wort smelled incredible, the fermentation was vigorous, and three weeks later, I poured what was honestly a mediocre beer. But it was my beer. And that changed everything.
Over the past 12 years, I've brewed more than 200 batches at home, made every mistake in the book, and helped thousands of readers through their own first brews here at BarCarrera. What I've learned is that home brewing is one of the most rewarding hobbies you can pick up - but the sheer volume of information out there can be paralyzing for beginners.
That's exactly why I wrote this guide. It's the resource I wish existed when I started - comprehensive, honest, and grounded in real-world experience rather than theory. Whether you're drawn to brewing by curiosity, cost savings, or the pure joy of creating something with your own hands, this guide will get you from zero to your first pint with confidence.
The home brewing community has exploded in recent years. According to the Homebrewers Association's 2026 survey, approximately 12.4 million households worldwide are actively brewing at home, and the global beer home brewing kits market is projected to reach $3.3 billion by 2033, growing at a CAGR of 7.9%. The hobby has never been more accessible, more supported, or more exciting than it is right now.
Why Home Brewing? The Case for Starting Today
Before we dive into equipment and processes, let me address the question I get most often: "Is home brewing actually worth it?" After more than a decade of brewing and analyzing the economics, I can say with confidence: yes, absolutely - but for reasons that go beyond just saving money.
Cost Savings
After initial investment (~$200), cost per bottle drops to $0.75-$1.50. Compare that to $8-$15 for equivalent craft beers. Break-even typically occurs by batch 3-5.
Creative Expression
Design your own recipes, experiment with ingredients, and create beers tailored exactly to your palate. No commercial brewery can offer that level of personalization.
Community
Join a passionate global community. Local homebrew clubs, online forums like r/Homebrewing, and events like Homebrew Con offer incredible camaraderie and learning.
From a purely financial perspective, the math is compelling. A typical 5-gallon batch yields approximately 48 twelve-ounce bottles. With ingredient costs of $30-$50 per batch, that's roughly $0.63-$1.04 per bottle. Even accounting for equipment amortization over your first 20 batches, you're looking at $1.50 or less per bottle for beer that rivals - and often exceeds - what you'd pay $12+ for at a craft brewery.
Home Brewing Methods Explained: Extract, BIAB, and All-Grain
Understanding the three main brewing methods is critical because it determines your equipment needs, time commitment, and the level of control you'll have over the final product. Here's my honest breakdown after using all three extensively:
| Method | Difficulty | Time | Equipment Cost | Control Level | Best For |
|---|---|---|---|---|---|
| Extract Brewing | Beginner | 4-5 hours | $100-$160 | Basic | First-time brewers |
| BIAB (Brew-in-a-Bag) | Intermediate | 5-6 hours | $150-$300 | Moderate | Upgrading extract brewers |
| All-Grain (Traditional) | Advanced | 6-8 hours | $300-$800+ | Full | Experienced brewers |
| All-in-One Electric | Intermediate | 5-7 hours | $350-$600 | High | Tech-savvy brewers |
My recommendation: Start with extract brewing. Period. I've seen too many beginners jump into all-grain, get overwhelmed by the complexity, and quit the hobby entirely. Extract brewing lets you learn fermentation management, sanitation, and recipe following - the skills that actually matter most for great home brewed beer - without the added complexity of mashing and lautering.
Once you've completed 3-5 successful extract batches and feel comfortable with the process, transitioning to BIAB is a natural next step. It requires minimal additional equipment (just a large mesh bag and a thermometer) while giving you full grain control.
Essential Home Brewing Equipment: What You Actually Need
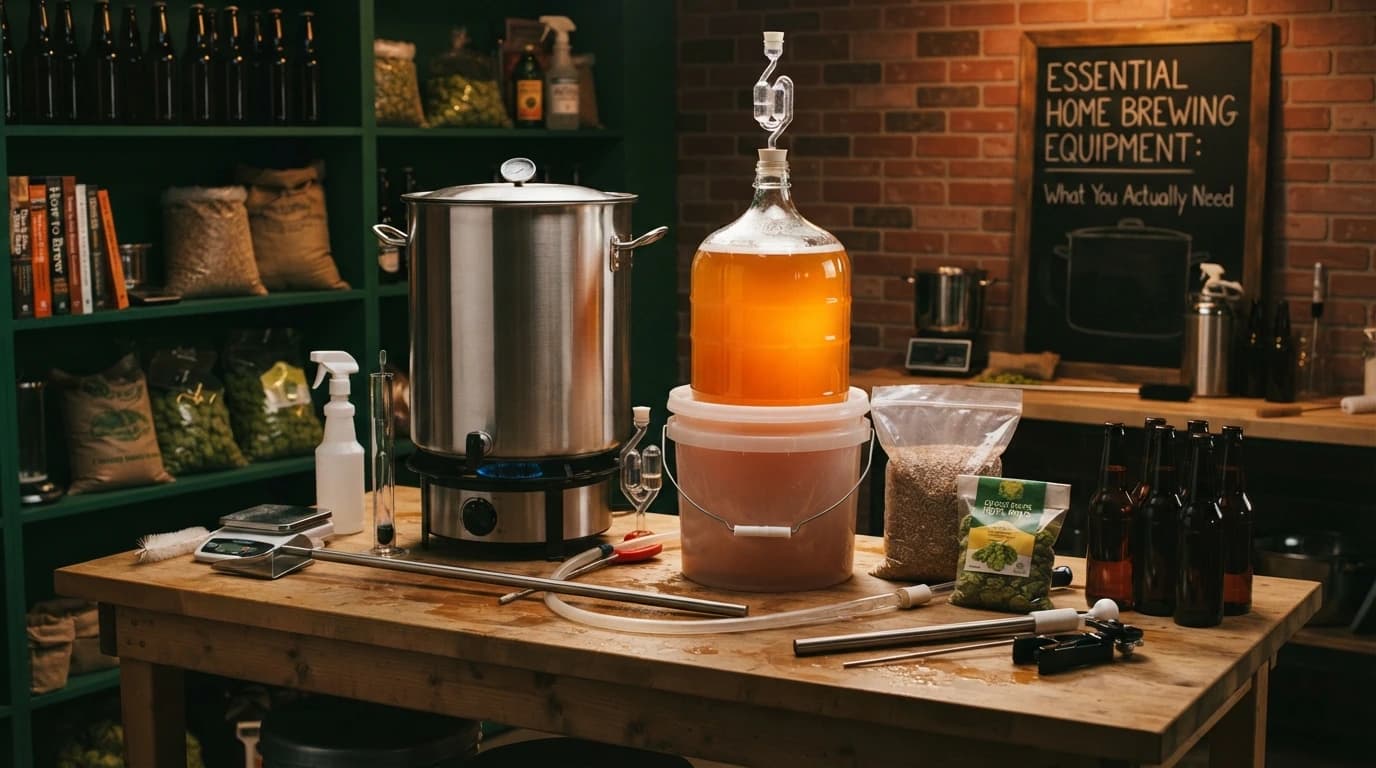
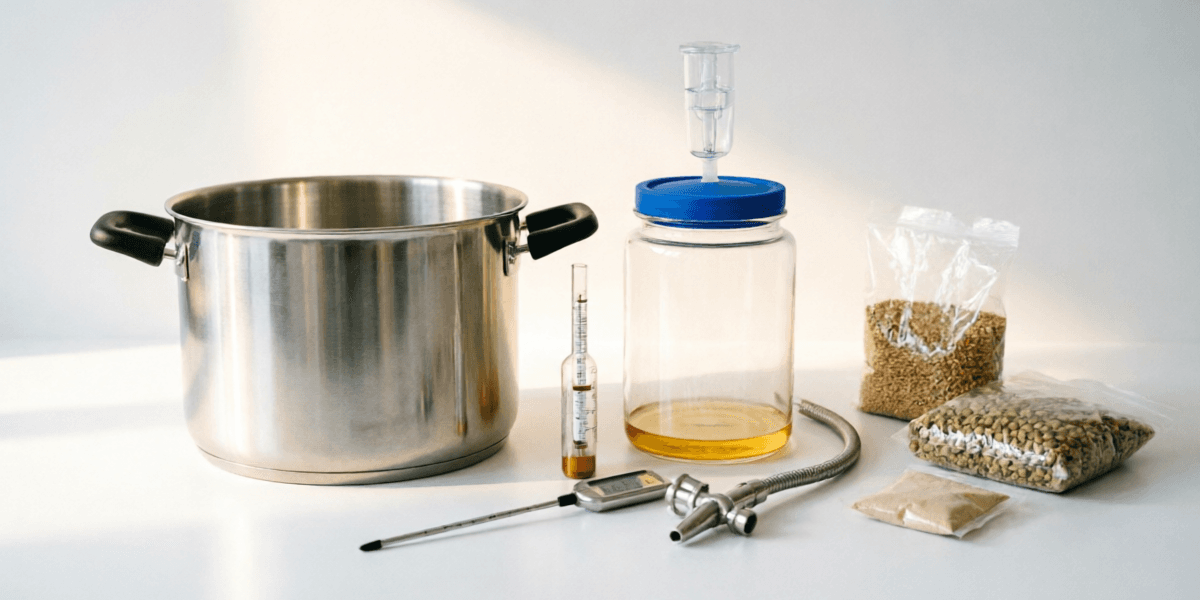
The home brewing equipment market is vast, and it's easy to overspend. After testing dozens of setups and analyzing what actually impacts beer quality, here's my prioritized equipment list. I've categorized items by priority so you know what's essential versus what's nice-to-have.
1Non-Negotiable Essentials
Fermenter (6.5 gal)
Your beer's home for 1-2 weeks. A Fermonster carboy or food-grade bucket with airlock. Head space prevents blow-offs.
Brew Kettle (5+ gal)
Stainless steel, minimum 5 gallons. A 10-gallon kettle gives you room to grow and prevents boil-overs. #1 Amazon Pick
Sanitizer (Star San)
Acid-based, no-rinse sanitizer. This is the single most important item. Everything that touches post-boil wort must be sanitized. Everyone I know uses Star San.
Hydrometer
A hydrometer Measures sugar content before and after fermentation. Essential for calculating ABV and confirming fermentation completion. Our #1 recommendation.
2Highly Recommended Home Brewing Essentials
Digital Thermometer
Instant-read digital thermometer for monitoring mash temps, boil temps, and fermentation environment.
Auto-Siphon & Tubing
Makes transferring beer between vessels easy and sanitary. Much better than traditional racking cane for beginners.
Cleaner (PBW)
Powdered Brewery Wash for cleaning equipment before sanitizing. You can't sanitize what isn't clean first.
Bottling Equipment
Bottling bucket with spigot, bottling wand, bottle capper, and caps. Or invest in kegging later.
Top Home Brewing Product Recommendations (Tested & Reviewed)
I've personally used or extensively tested every home brewing product I recommend below. These aren't random picks from a list - they're products I've relied on across hundreds of batches, and they've earned their place through consistent performance. I've also included how they compare to alternatives so you can make an informed decision.
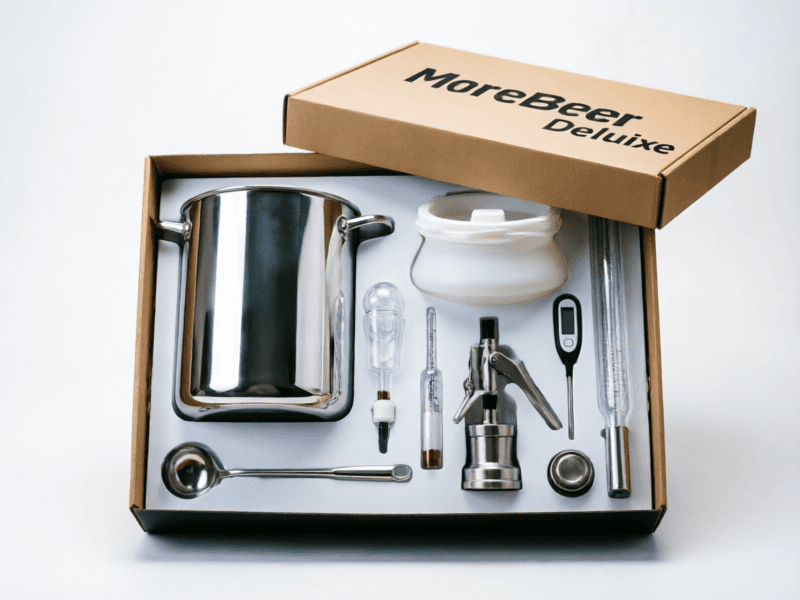
MoreBeer Deluxe Home Brewing Kit
The home brewing kit Wirecutter calls "the best we've found" includes a 5-gallon stainless steel kettle, 6.5-gallon Fermonster fermenter, auto-siphon, bottling bucket, hydrometer, thermometer, bottle capper, sanitizer, and more. It's the most complete package available at this price point.
Pros
- Complete 5-gallon setup
- Wirecutter's top pick
- High-quality stainless kettle
- Excellent customer support
Cons
- Fermenter is plastic (not glass)
- No bottle caps included
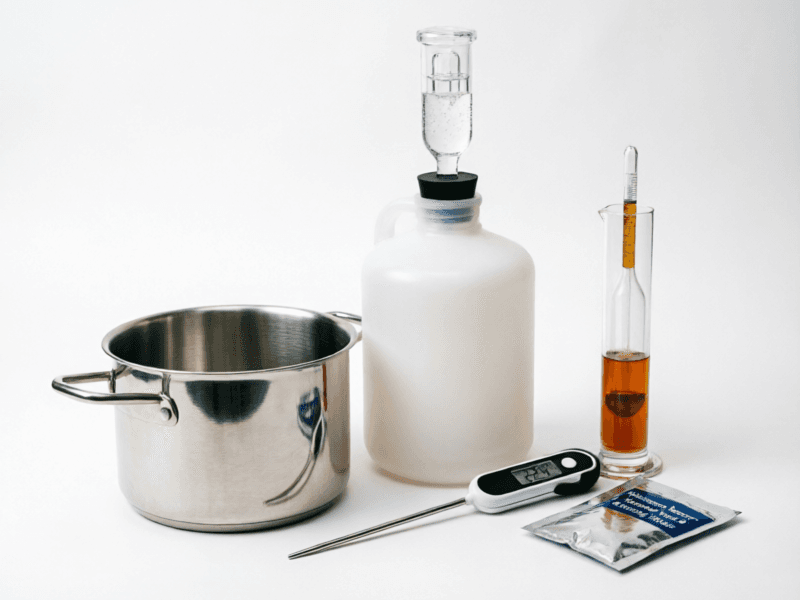
Northern Brewer Essential Brew Kit
Perfect for brewers who want to test the waters with minimal investment. The 1-gallon batch size means less risk and faster turnaround. Northern Brewer's recipe kits are well-designed and include detailed instructions. Great for apartment brewers with limited space.
Pros
- Budget-friendly
- Great for 1-gallon batches
- Compact and portable
- Includes recipe kit
Cons
- Only 1-gallon capacity
- Basic equipment quality
- Limited upgrade path
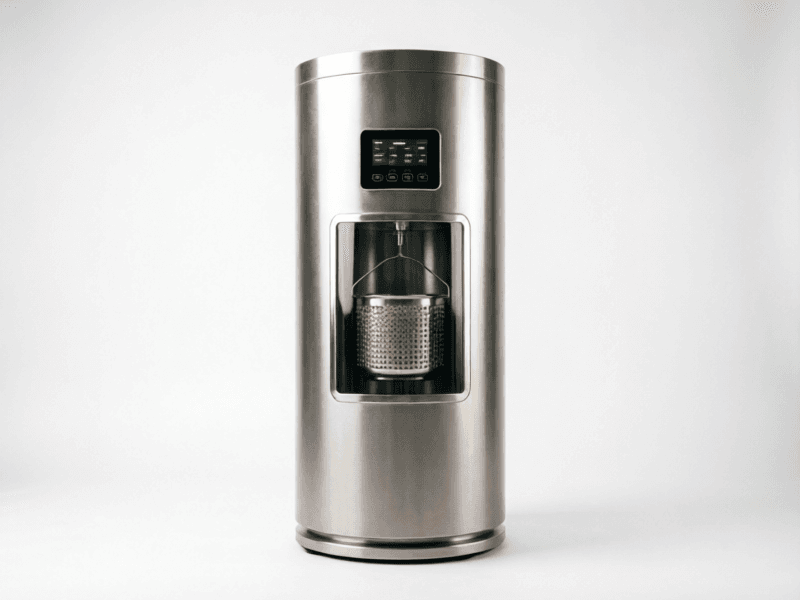
BrewZilla 35L All-in-One System
For home brewers ready to jump into all-grain without the complexity of a multi-vessel system. The BrewZilla features a built-in recirculation pump, PID temperature controller, and integrated grain basket. It handles mashing, lautering, and boiling in a single vessel. Compare to the Grainfather G30 ($699) - the BrewZilla offers 85% of the functionality at 57% of the price.
Pros
- All-in-one electric system
- Built-in pump & PID controller
- Supports all-grain brewing
- Compact footprint
Cons
- Higher initial investment
- Requires electricity
- Learning curve for all-grain
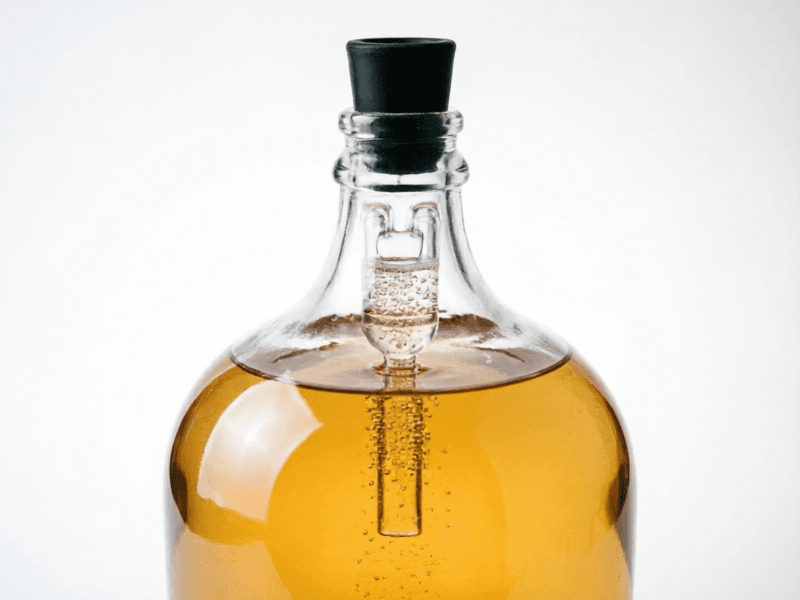
Fermonster 6.5 Gallon Carboy
$24.99Crystal clear PET with volume markings. Wide mouth for easy cleaning. Virtually unbreakable.
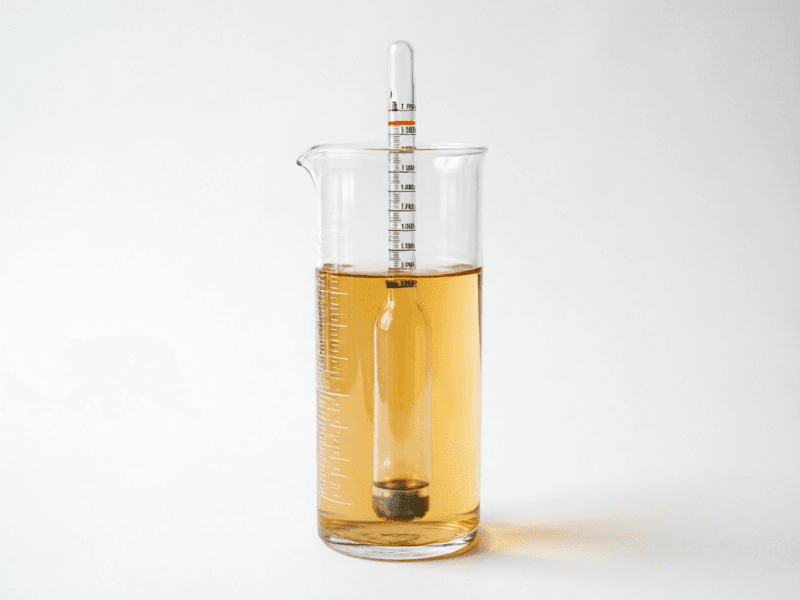
Brewcrafta Hydrometer & Test Jar
$14.99Accurate SG readings with included test jar. Essential for tracking fermentation and calculating ABV.
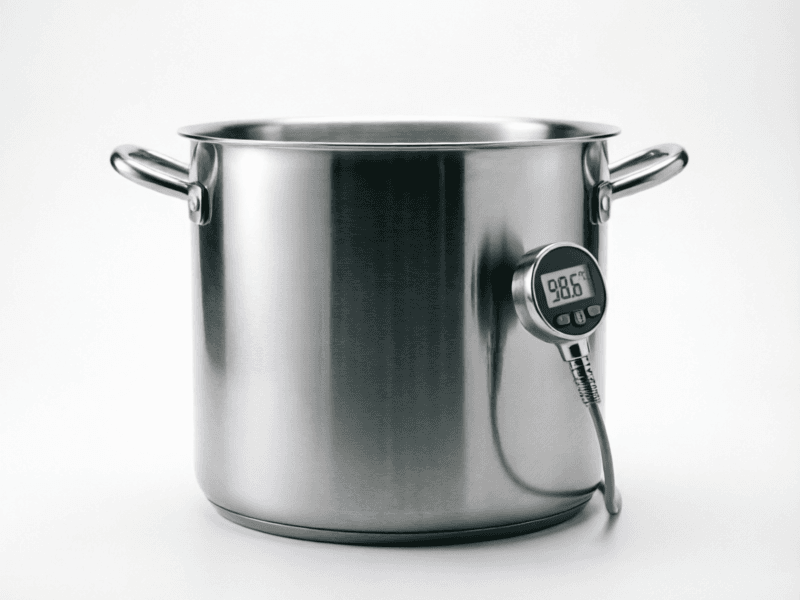
Brew Kettle 10-Gallon Stainless
$89.99Tri-clad bottom for even heat distribution. Volume markings and spigot included. Fits all stove types.
Head-to-Head Home Brewing Equipment Comparison
Here's how the three main home brewing starter kit options stack up against each other across the metrics that matter most:
| Feature | MoreBeer Deluxe | Northern Brewer | BrewZilla 35L |
|---|---|---|---|
| Price | $159.99 | $99.99 | $399.99 |
| Batch Size | 5 gallons | 1 gallon | 9.25 gallons (35L) |
| Brewing Method | Extract | Extract | All-Grain / BIAB |
| Kettle Material | Stainless Steel | Stainless Steel | Stainless Steel (integrated) |
| Temperature Control | Basic thermometer | Basic thermometer | PID digital controller |
| Recipe Kit Included | Yes (choice of styles) | Yes | No (sold separately) |
| Upgrade Path | Good - add grains later | Limited - need new equipment | Excellent - already all-grain |
| Our Verdict | ★ Best Overall | Best Budget | Best Upgrade |
Expert Insight
When comparing to alternatives: The MoreBeer Deluxe outperforms the Northern Brewer 5-Gallon Deluxe Kit ($179.99) in value because it includes a Fermonster fermenter (superior to NB's basic bucket) and an auto-siphon. Against the Brewer's Best Deluxe Kit ($139.99), MoreBeer wins on kettle quality and recipe variety. The BrewZilla competes directly with the Grainfather G30 ($699) and Anvil Brewing System ($449) - offering comparable features at a lower price point, though with slightly less polished build quality.
Understanding the Four Essential Beer Ingredients
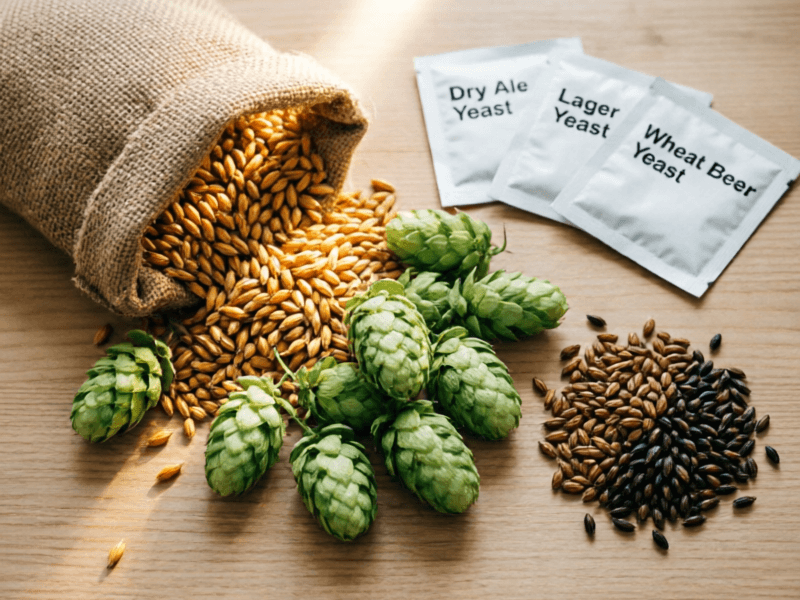
The four pillars of beer: malt, hops, yeast, and water
Beer is remarkably simple in composition - just four ingredients - yet the combinations are virtually infinite. Here's what each contributes:
Malt (The Body)
Malted barley (or other grains) provides the fermentable sugars that yeast converts to alcohol. It also contributes color, body, and flavor. Base malts (Pale, Pilsner) provide most of the sugar; specialty malts (Crystal, Chocolate, Roasted) add color and complex flavors. For extract brewing, you'll use liquid malt extract (LME) or dry malt extract (DME).
Hops (The Spice)
Hops add bitterness (to balance malt sweetness), flavor, and aroma. Added early in the boil for bitterness, later for flavor, and at the very end or during fermentation ("dry hopping") for aroma. Popular varieties include Cascade (citrus), Centennial (floral), and Saaz (herbal/spicy).
Water (The Foundation)
Beer is 90-95% water. For extract brewing, filtered tap water is perfectly fine. For all-grain brewing, water chemistry becomes critical - different mineral profiles suit different beer styles. As a beginner, just ensure your water tastes good and is free of chlorine (let it sit overnight or use a filter).
Yeast (The Magic)
Yeast consumes sugars and produces alcohol, CO₂, and flavor compounds. Ale yeasts (Saccharomyces cerevisiae) ferment warm (60-72°F) and produce fruity esters. Lager yeasts (S. pastorianus) ferment cold (45-55°F) for clean profiles. For beginners, dry ale yeast (like US-05 or Nottingham) is the most forgiving option. (Yeast viability over time)
Step-by-Step: Your First Brew Day
Here's the complete extract brewing process, broken down into clear steps. This is the exact process I teach every beginner I mentor. Follow it carefully for your first batch - once you've internalized the workflow, you can start improvising.
Sanitize Everything
15 minutesMix Star San according to directions (1 oz per 5 gallons). Sanitize your fermenter, airlock, spoon, thermometer, hydrometer test jar, and anything else that will touch your wort after the boil. This is the single most important step.
Pro Tip: Keep a spray bottle of Star San nearby throughout brew day for quick touch-ups.
Heat Your Water
20-30 minutesAdd 2.5-3 gallons of water to your kettle and heat to a rolling boil. If your recipe calls for steeping specialty grains, heat to 150-160°F first, steep grains in a mesh bag for 20-30 minutes, then remove and bring to boil.
Pro Tip: Use a lid to speed up heating. Watch for boil-overs once it gets close.
Add Malt Extract & Boil
60 minutesRemove kettle from heat, stir in malt extract until fully dissolved (prevents scorching), then return to heat. Start your 60-minute boil timer. Add hops according to your recipe's schedule - typically bittering hops at 60 min, flavor hops at 15-30 min, and aroma hops at 0-5 min.
Pro Tip: Stir continuously when adding extract. A rolling boil is essential for proper hop utilization.
Cool the Wort
20-30 minutesAfter the boil, you need to cool the wort to yeast-pitching temperature (65-70°F for ales) as quickly as possible. An ice bath in your sink works for smaller volumes. For 5-gallon batches, an immersion wort chiller ($60-80) is a worthwhile investment.
Pro Tip: The faster you cool, the better. This minimizes the window for contamination and improves cold break formation.
Transfer & Pitch Yeast
15 minutesTransfer cooled wort to your sanitized fermenter. Take your original gravity (OG) reading with the hydrometer. Sprinkle dry yeast on top (or rehydrate per instructions). Seal with lid and insert sanitized airlock filled with Star San or vodka.
Pro Tip: Aerate the wort vigorously before pitching yeast - shake the fermenter or stir aggressively. Yeast needs oxygen for healthy reproduction.
Ferment
1-2 weeksStore fermenter in a dark, temperature-stable location (65-70°F for most ales). You'll see bubbling in the airlock within 12-48 hours. Active fermentation lasts 3-7 days. Wait until bubbling stops and the beer clears before proceeding.
Pro Tip: Temperature stability matters more than exact temperature. Avoid fluctuations of more than 5°F.
Package & Carbonate
2-3 weeksTake final gravity (FG) reading. If stable for 2-3 days, fermentation is complete. Bottle with priming sugar (3/4 cup corn sugar dissolved in 2 cups water for 5 gallons) or keg and force carbonate. Condition bottles at room temperature for 2-3 weeks.
Pro Tip: Don't rush conditioning! The beer will improve dramatically over those 2-3 weeks of bottle conditioning.
7 Common Home Brewing Beginner Mistakes (And How to Avoid Them)
I made every single one of these mistakes. You don't have to. Here are the pitfalls that cause the most frustration for new home brewers, ranked by how commonly I see them:
Poor Sanitation
Impact: Infection, off-flavors, sour beer
Fix: Sanitize everything post-boil. Use Star San. No exceptions. If in doubt, sanitize again.
Pitching Yeast at Wrong Temperature
Impact: Stalled fermentation, fusel alcohols, off-flavors
Fix: Cool wort to 65-70°F before pitching. Use a thermometer. Don't guess.
Scorching the Extract
Impact: Burnt, caramelized off-flavors
Fix: Remove kettle from heat before adding extract. Stir until fully dissolved. Return to heat.
Opening the Fermenter Too Early
Impact: Oxidation, contamination risk
Fix: Don't open the fermenter for at least 5-7 days. Trust the process.
Bottling Too Soon
Impact: Bottle bombs (over-carbonation) or flat beer
Fix: Wait until FG is stable for 3 consecutive days. Use correct priming sugar amount.
Inadequate Aeration Before Pitching
Impact: Slow/stuck fermentation, under-attenuated beer
Fix: Shake the fermenter vigorously for 1-2 minutes before pitching yeast.
Temperature Fluctuations During Fermentation
Impact: Inconsistent flavors, fusel alcohols, esters
Fix: Find a stable location. Use a swamp cooler or temperature-controlled space.
Frequently Asked Questions About Home Brewing
How much does it cost to start home brewing?
How long does it take to brew beer at home?
Is home brewing legal?
What is the easiest beer to brew for beginners?
Do I need to brew in a garage or outdoors?
How do I know when fermentation is complete?
Can I make good beer with tap water?
What's the difference between liquid and dry yeast?
Final Thoughts: Just Start Brewing
If you've read this far, you already know more about home brewing than 90% of people who say they want to try it. The knowledge gap isn't what stops most aspiring brewers - it's the action gap. They read more guides, watch more videos, buy more books, and never actually brew.
Here's what I want you to take away: your first batch doesn't need to be perfect. Mine wasn't. Your second won't be either. But by batch five, you'll be brewing beer that genuinely impresses people. By batch ten, you'll be tweaking recipes with confidence. By batch twenty, you'll wonder why you ever spent $14 on a pint.
The home brewing community is incredibly welcoming. Join your local homebrew club, participate in r/Homebrewing, and don't be afraid to ask questions. Every experienced brewer was once a beginner who made the same mistakes you're about to make.
Pick a kit, order it today, and start your brew day this month. I promise you won't regret it. And when you pour that first glass of your own creation - share it with someone. That's when the real magic happens.
Ready to Start Brewing?
Get the MoreBeer Deluxe Home Brewing Kit - everything you need for your first 5-gallon batch.